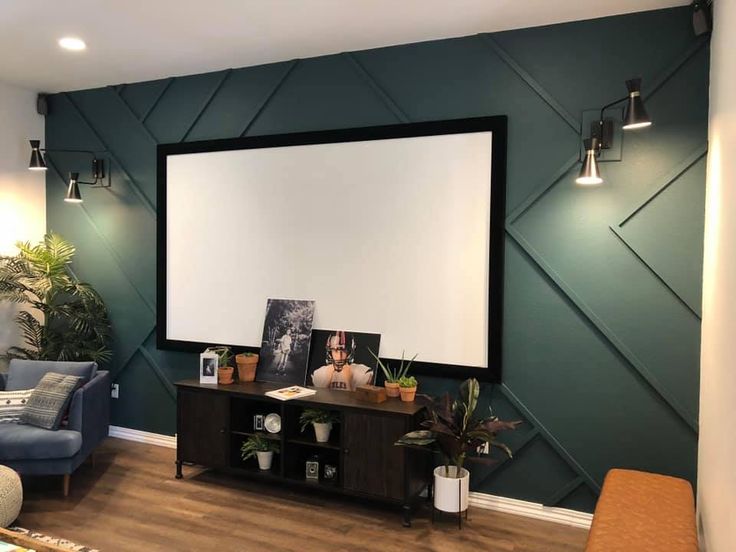
Setting up a projector in the living room is a great way to enjoy movies, games, and other content on a large screen without breaking the bank. However, it can be challenging to set up a projector if you’re not familiar with the process. In this article, we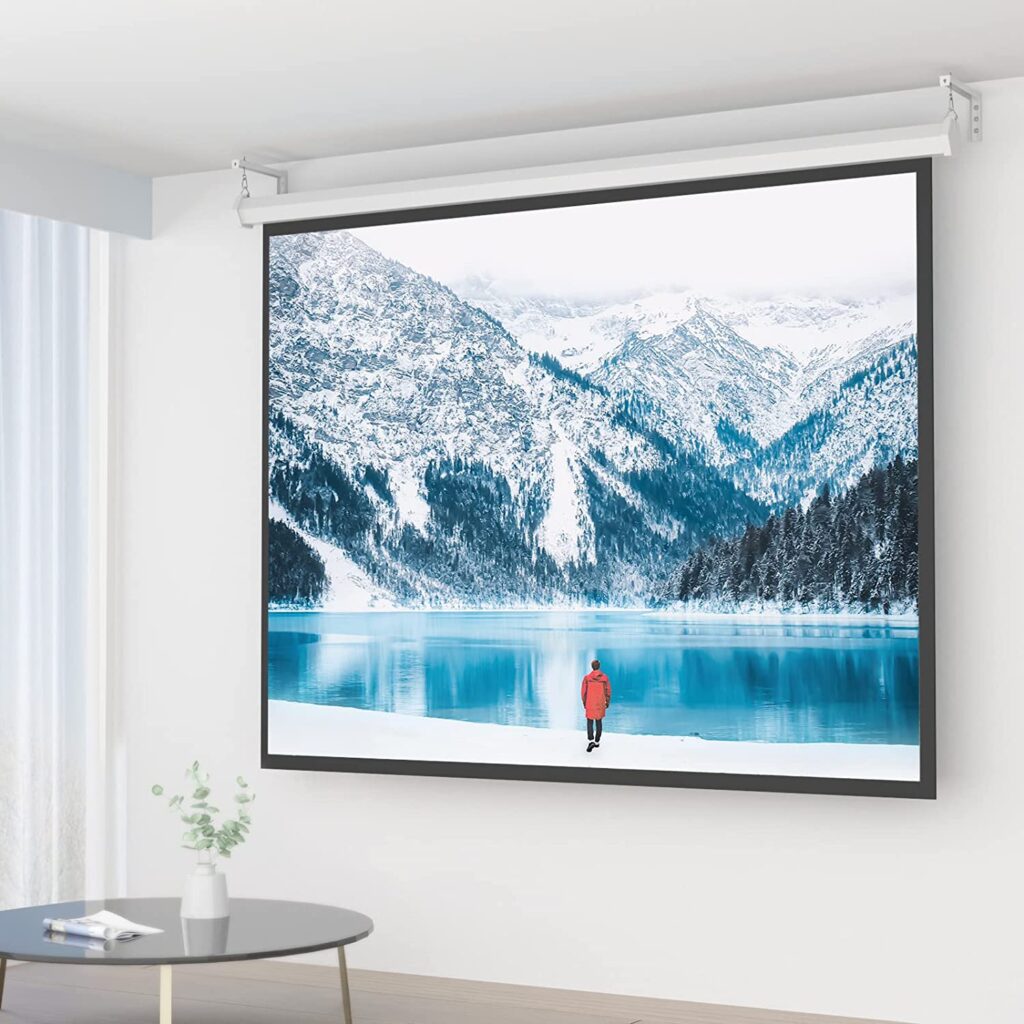
Choosing the Right Projector
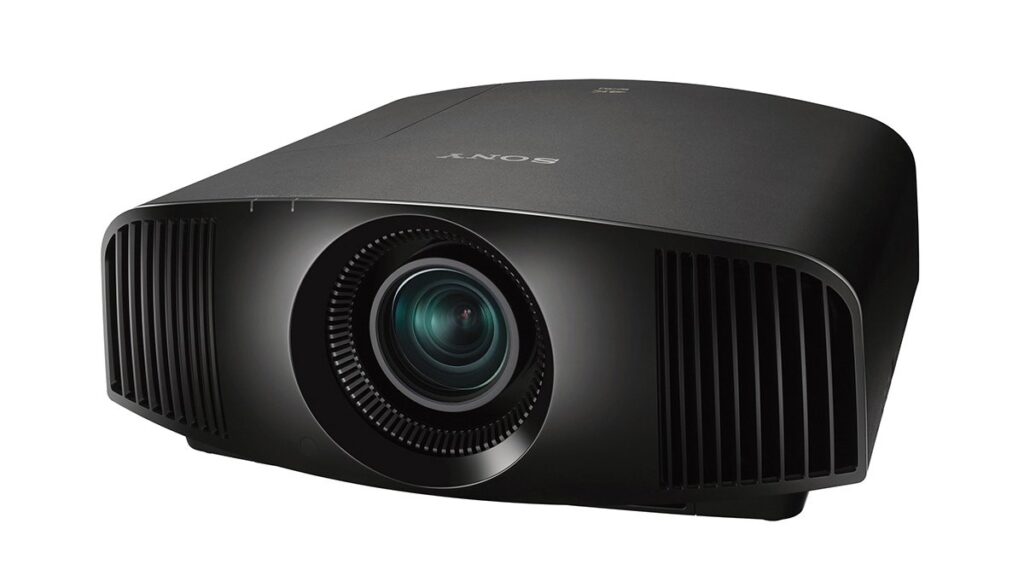
The first step in setting up a projector in the living room is to choose the right projector. There are many different types of projectors available, ranging from basic models to high-end units with advanced features. When choosing a projector, consider the following factors:
Brightness
The brighter the projector, the better it will perform in a bright room.
- Resolution
The higher the resolution, the sharper and more detailed the image will be.
- Contrast Ratio
The higher the contrast ratio, the better the projector will be at displaying dark scenes.
- Throw Distance
This is the distance from the projector to the screen, which affects the size of the projected image.
- Lamp Life
The longer the lamp life, the less frequently you’ll need to replace the lamp.
Choosing the Right Screen
After selecting the right projector, the next step is to choose the right screen. The screen you choose will depend on the size of your room, the distance between the projector and the screen, and your personal preferences. Some factors to consider when choosing a screen include:
- Size
The bigger the screen, the more immersive the viewing experience will be.
- Gain
This refers to the amount of light the screen reflects, with higher gain screens being brighter.
- Material
Screens can be made from a variety of materials, such as fabric, vinyl, or plastic.
- Type
There are several types of screens available, including fixed-frame, motorized, and portable.
Setting Up the Projector
Once you’ve chosen the right projector and screen, it’s time to set up the projector. Here are the steps to follow:
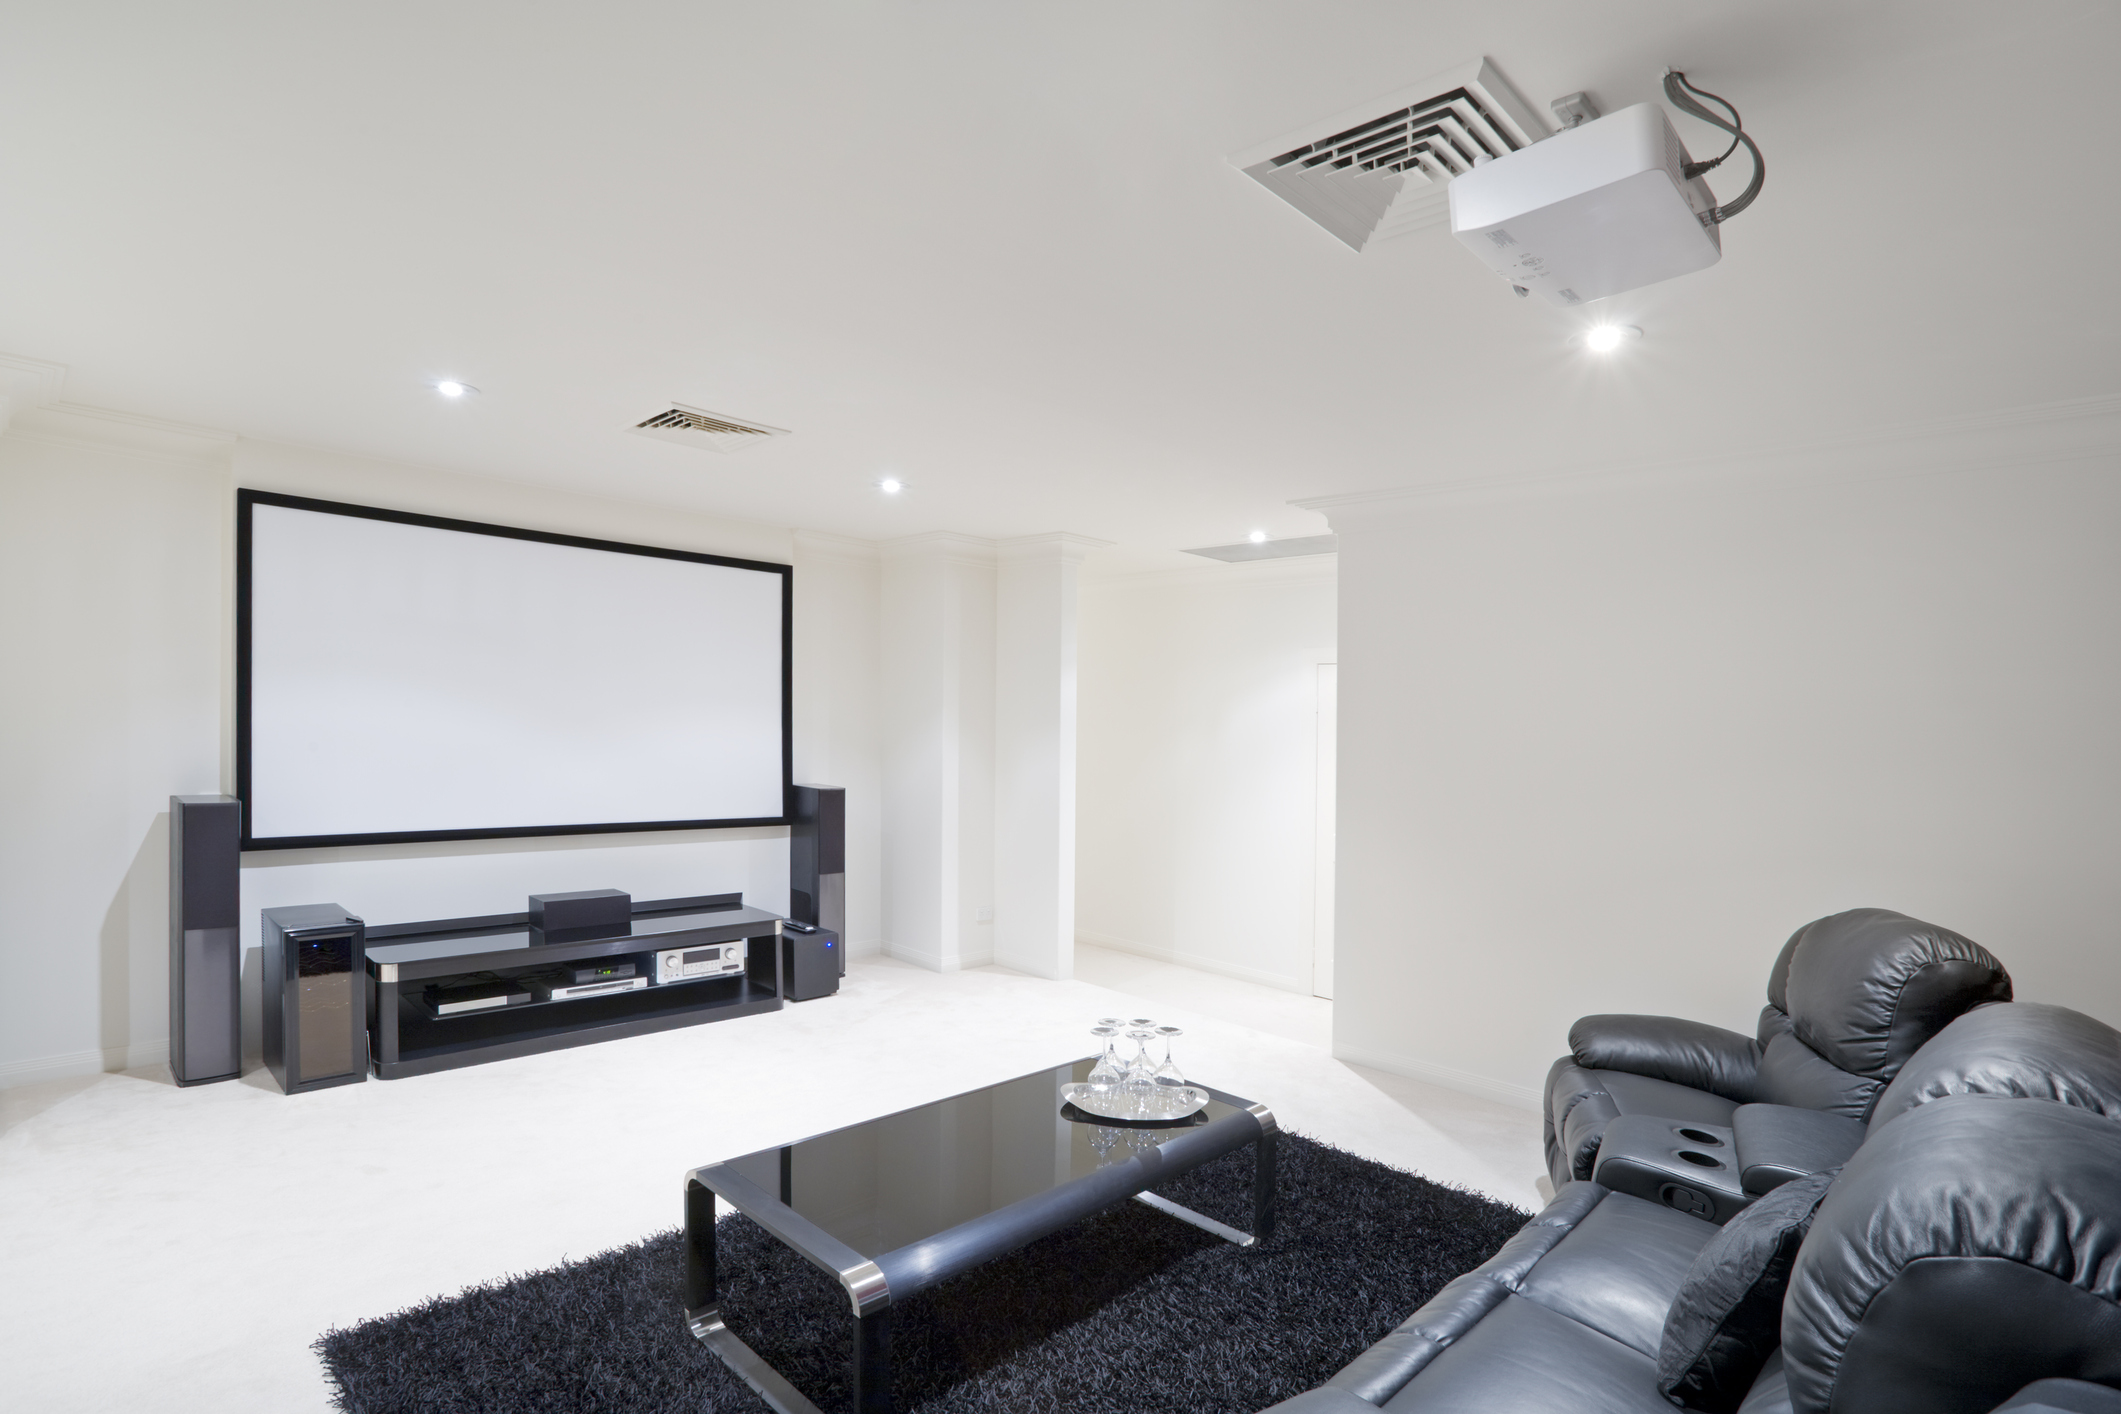
- Positioning the Projector
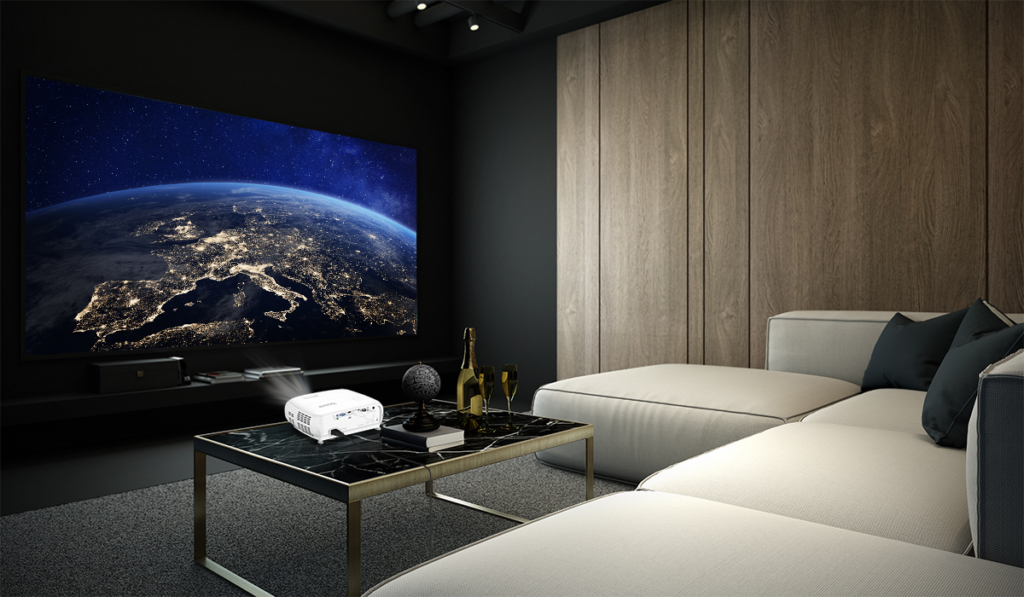
Start by positioning the projector in the desired location. Make sure it’s level and stable, and that it’s positioned at the right distance from the screen for the size of the image you want to project.
- Adjusting the Focus and Keystone
Next, adjust the focus and keystone of the projector. The focus determines the sharpness of the image, while the keystone corrects the image distortion caused by the angle of the projector. Use the remote control to make these adjustments until the image is clear and distortion-free.
- Connecting the Cables
Connect the projector to your video source using an HDMI or VGA cable. Make sure the cables are securely connected, and that the correct input is selected on the projector.
- Powering On the Projector
Finally, turn on the projector and adjust the brightness, contrast, and color settings to your liking.
Setting Up the Screen
Now that the projector is set up, it’s time to set up the screen. Follow these steps to get it done:
- Positioning the Screen
Place the screen in the desired location, and adjust it until it’s level and at the right height and distance for the projector. Make sure it’s secured in place and doesn’t wobble or move.
- Tensioning the Screen
If you’re using a retractable screen, make sure it’s properly tensioned before use. This will prevent wrinkles and ensure a flat, smooth surface for projection. Follow the manufacturer’s instructions to get it done.
Calibrating the Projector
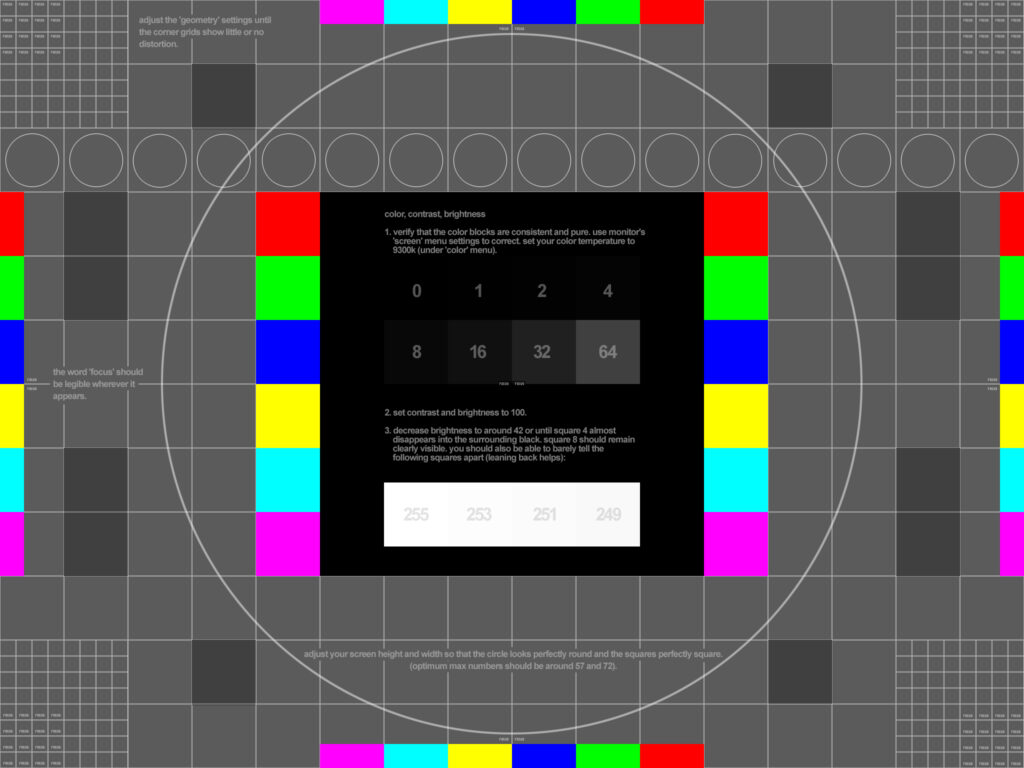
To get the best possible image quality, you need to calibrate the projector. Here’s how:
- Adjusting the Brightness and Contrast
Use the projector’s settings to adjust the brightness and contrast until the image looks balanced and well-lit. This will depend on the ambient light in the room, as well as your personal preferences.
- Adjusting the Color Temperature
The color temperature determines the overall color balance of the image and can affect skin tones, colors, and other aspects of the picture. Adjust it until the image looks natural and accurate.
- Setting the Aspect Ratio
The aspect ratio determines the shape of the projected image and can be adjusted to fit different types of content. Choose the aspect ratio that matches your content, or adjust it to your liking.
- Installing Speakers
To get the full cinema experience, you’ll need to install speakers. You can use a soundbar, a surround sound system, or other types of speakers to get the best possible sound quality. Position them around the room for the best possible audio experience.

Conclusion
Setting up a projector in the living room can be a bit tricky, but it’s well worth the effort. With the right projector, screen, and speakers, you can enjoy movies, games, and other content on a large screen, without breaking the bank. Follow the steps outlined in this article, and you’ll be well on your way to setting up your own home theater.
FAQs
- Do I need a special projector screen for my living room?
No, you can use any type of screen as long as it’s the right size and material for your projector.
- Can I use a wall instead of a screen?
Yes, you can use a white or light-colored wall as a screen, but it may not provide the best image quality.
- Do I need to calibrate my projector?
Yes, calibrating your projector can greatly improve the image quality.
- Do I need a soundbar or surround sound system?
No, you can use the speakers built into your projector, but a soundbar or surround sound system can greatly improve the audio quality.
- Can I use a projector in a bright room?
Yes, but you’ll need a brighter projector and a higher gain screen to overcome the ambient light.